Saturday 25 December 2010
Thursday 9 December 2010
Industry Exercises-Day 8
Hey guys, here's more progress;
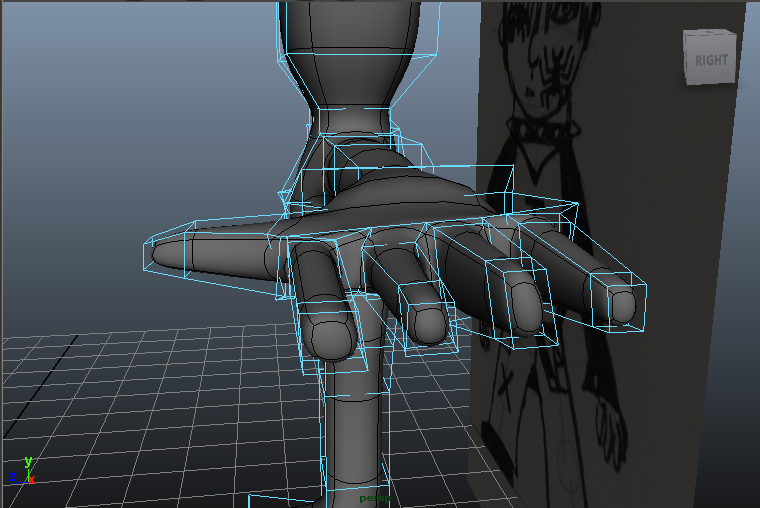
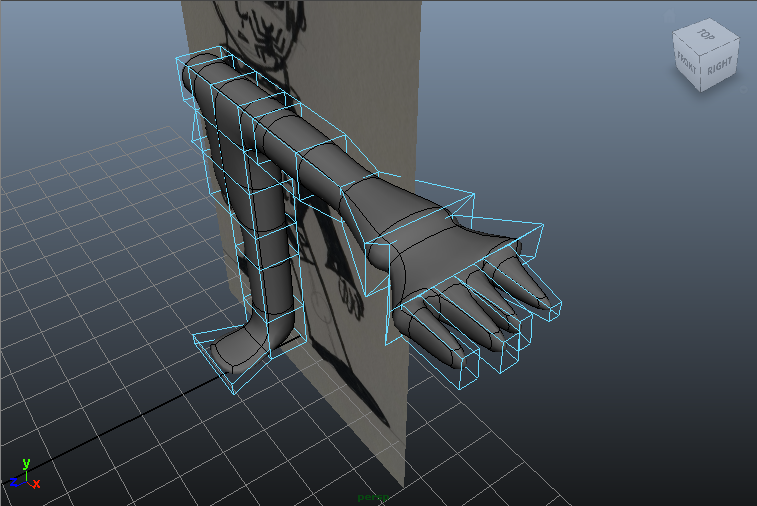
After making the hand, we then had to sort out the fingers. By doing this we selected three new polygons and extruded them three times to make the fingers.

And this is close to what hopefully will be the final product.
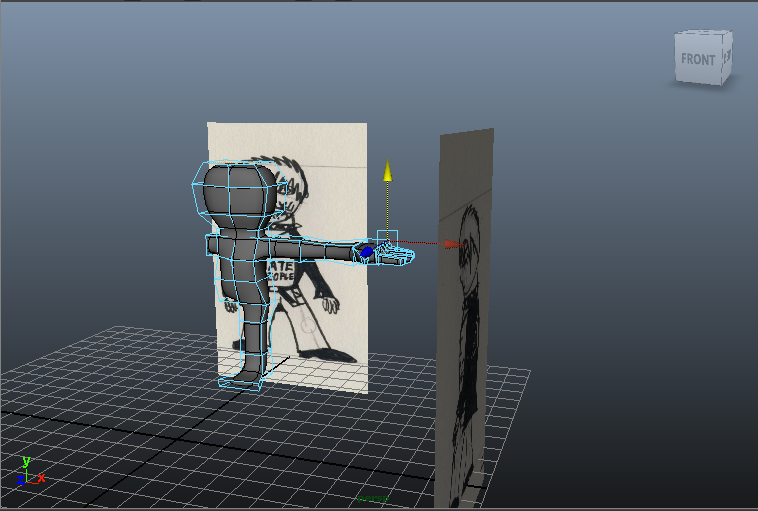
No watch the magic unfold as we created the other side of the body. What we did was that we highlighted one half of the body and deleted it. Then as we were left with the good half, the one that had the arm and the leg we then duplicated that half and....
Viola!
We now have a full nine-year-old's body.

Now we decided to make the face, we made one poly split to the middle of the face and made two poly splits to the side of the head from which we extruded the ears. And made one ear.
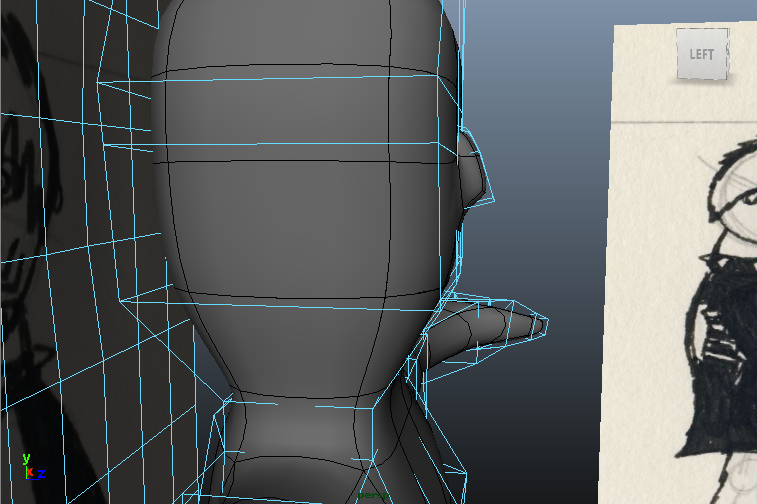
After modelling it a little bit I can tell you all now that this is the final ear.
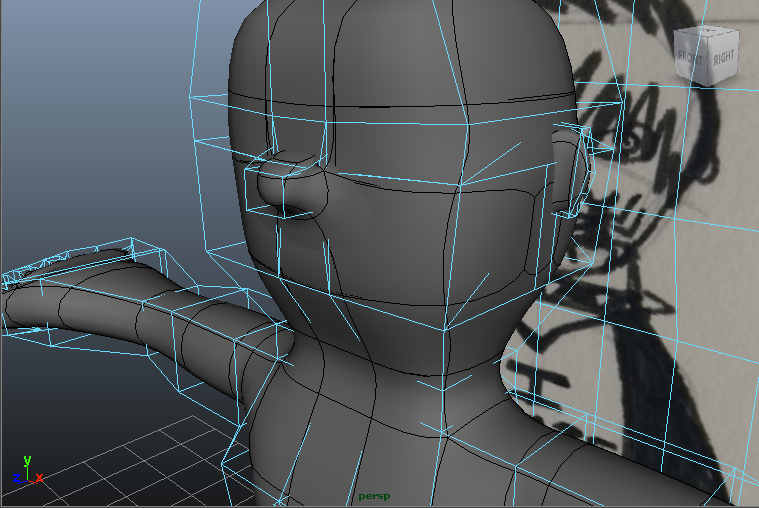
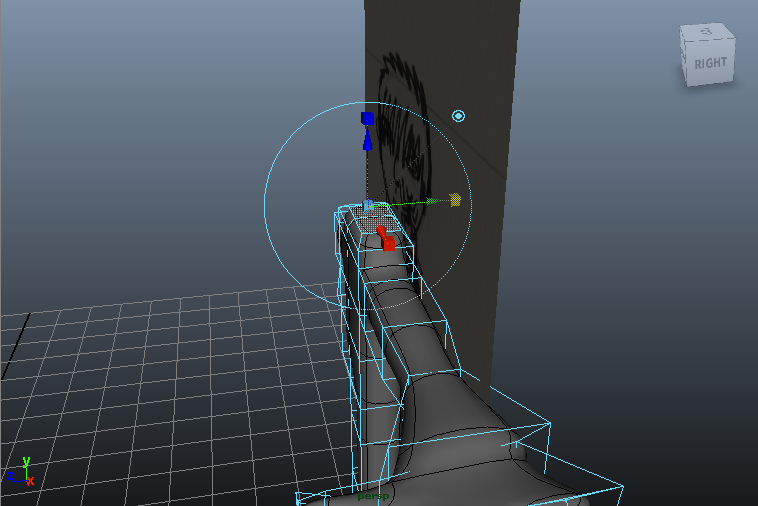
Now for the nose, we extruded the spilt polygon once again and pulled it out and modelled it a bit.
Rotated it up and push it in, moved it up a bit more...
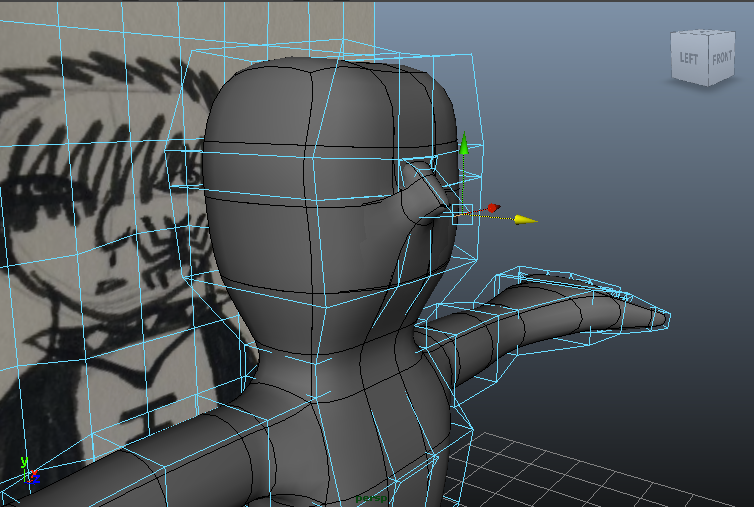
Made it slightly bigger, pulled it out a tad bit more.
And this is the final nose.

After making the hand, we then had to sort out the fingers. By doing this we selected three new polygons and extruded them three times to make the fingers.

And this is close to what hopefully will be the final product.

No watch the magic unfold as we created the other side of the body. What we did was that we highlighted one half of the body and deleted it. Then as we were left with the good half, the one that had the arm and the leg we then duplicated that half and....

Viola!

We now have a full nine-year-old's body.

Now we decided to make the face, we made one poly split to the middle of the face and made two poly splits to the side of the head from which we extruded the ears. And made one ear.

After modelling it a little bit I can tell you all now that this is the final ear.

Now for the nose, we extruded the spilt polygon once again and pulled it out and modelled it a bit.

Rotated it up and push it in, moved it up a bit more...

Made it slightly bigger, pulled it out a tad bit more.

And this is the final nose.
Wednesday 8 December 2010
Industry Exercises-Day 7
Hey guys, here's more on on the evolution of Billy the Goth in Maya;
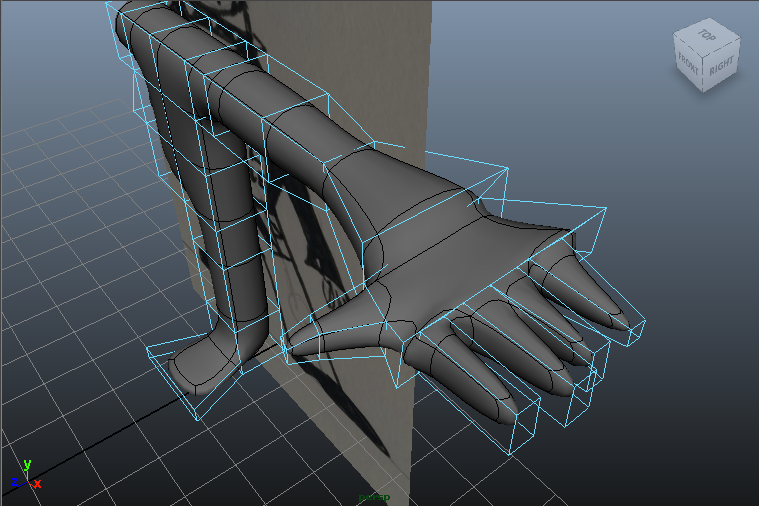
To add fingers to the hand, we split the face of the hand and extruded three new faces to create the fingers. The final result is what you see down below.
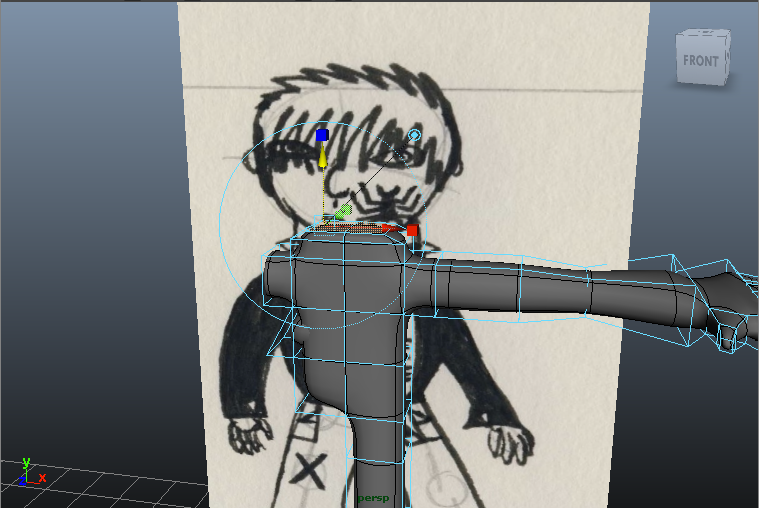
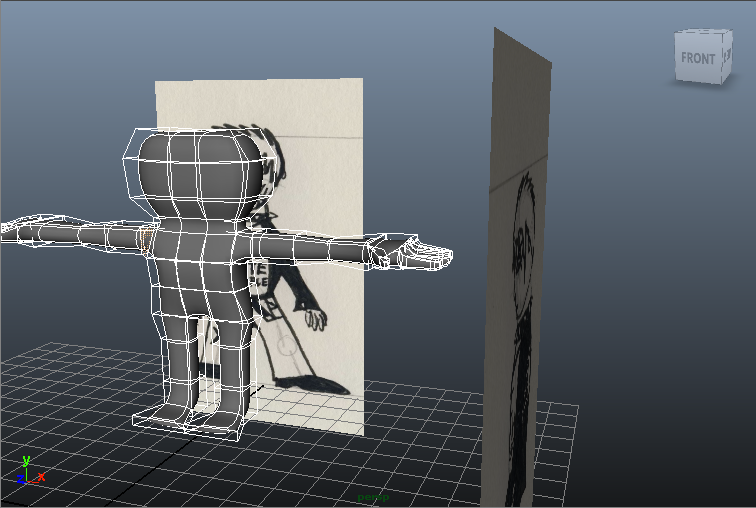
To create the neck which you see here, it was just two extrusions at the top of the body.
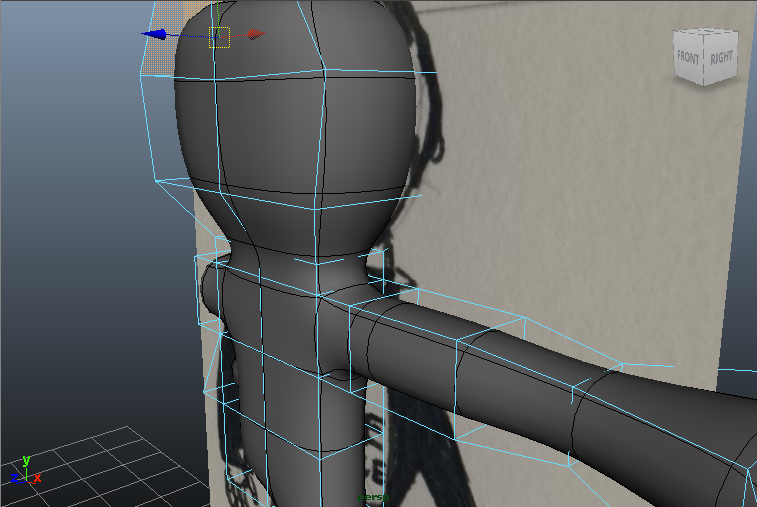
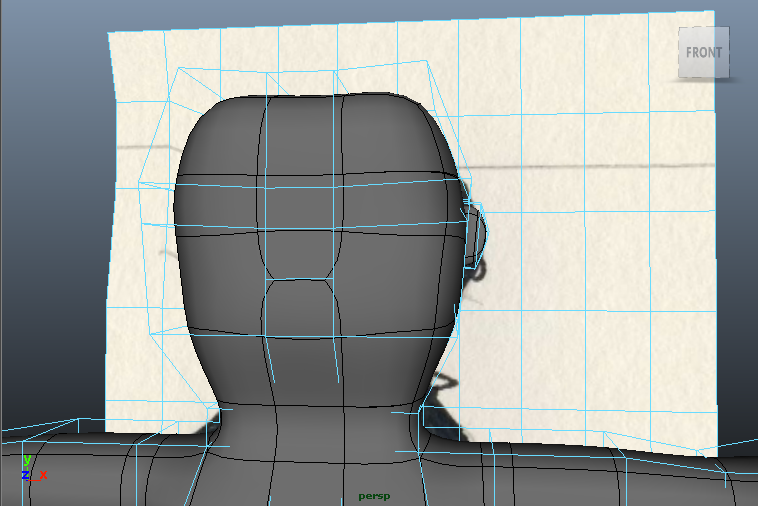
To make the head, it was extruded three times and the vertices were pulled to fill out the rest of the head.

And now the body, the front vertices in the centre of the body, what we did was just pull the two vertices on the centre of the body outwards to give him more definition.
And for the back we pretty much did the same thing.
So that's it so far I shall let you know when we've made more progress, me and my trusty companion Perri in the next blog report for the Industry Exercise project and till then, take care.

To add fingers to the hand, we split the face of the hand and extruded three new faces to create the fingers. The final result is what you see down below.


To create the neck which you see here, it was just two extrusions at the top of the body.


To make the head, it was extruded three times and the vertices were pulled to fill out the rest of the head.


And now the body, the front vertices in the centre of the body, what we did was just pull the two vertices on the centre of the body outwards to give him more definition.

And for the back we pretty much did the same thing.
So that's it so far I shall let you know when we've made more progress, me and my trusty companion Perri in the next blog report for the Industry Exercise project and till then, take care.
Tuesday 7 December 2010
Industry Exercises-Day 6
Hey guys, this is day six and I have finally begun building my character Billy the Goth in Maya. But first before I explain any further I just want to get something off my chest... I HATE MAYA! I generally hate Maya, it is so complicated and everything, that I don't think I'll ever get the hang of it, even though I've been trying for the last five years now, but what is good about it is that I have help now from my friends and two of my friends have been great help in helping me set this up and they are two members of my Digital Environments project, James Waters and Perri Wheeler, guys if you're reading this I just wanna say thank you so much for helping me out with this. Anyway so what we've done so far is what you'll see in the images down below;
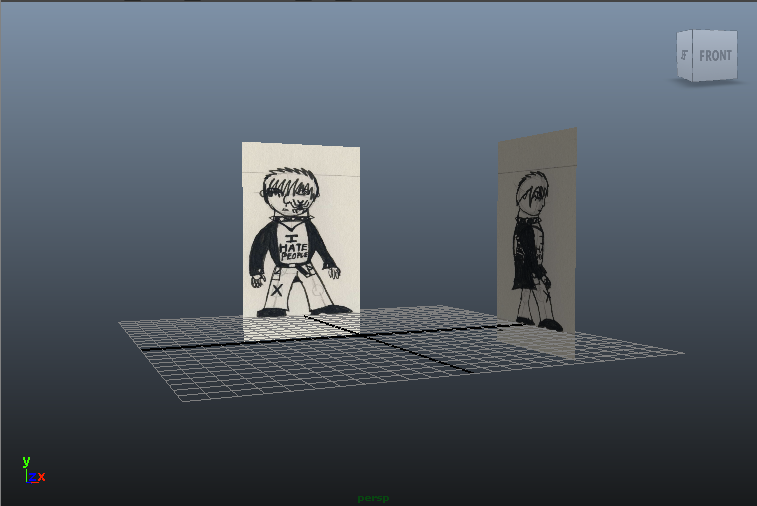
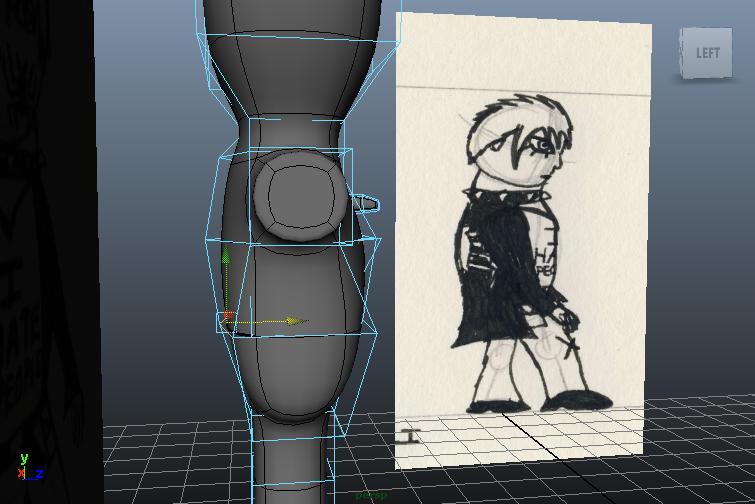
First of all we placed the design of Billy the Goth, into Maya. By doing this, James helped me import a polygon plane and rotated 90 degrees on the X axis and translated back on the Y axis. We then together created a lambert shade in hyper shade which we then assigned to the front image of Billy. We then applied that texture to the polygon plane.
We then duplicated the polygon plane which I rotated on y axis at 90 degrees and translated back on the x axis. For those of you who don't know much about Maya, the y axis is one of the tools you work with in Maya to help animate the character as well as the x axis.
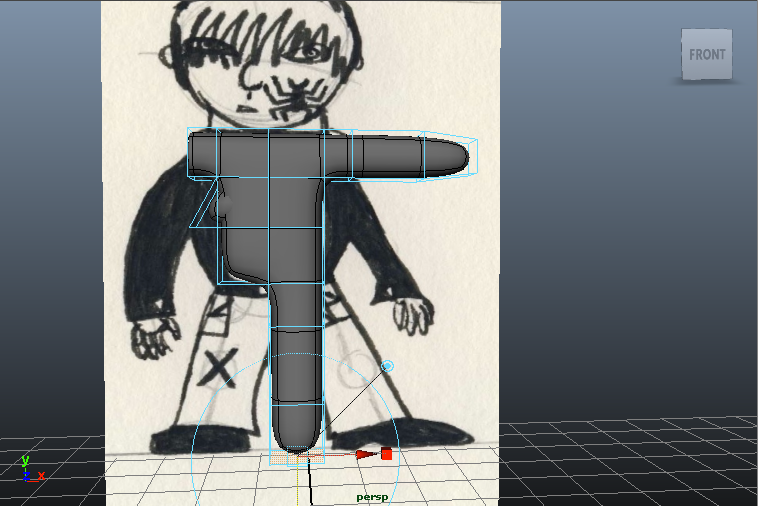
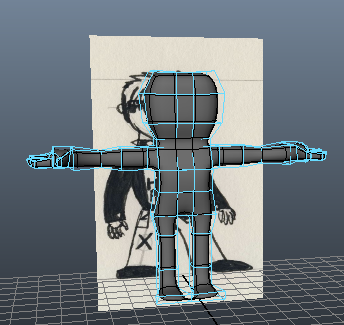
To make the body, Perri and I started with one cube and it was a polygon cube. The next step was to extrude the cube to become two cubes. Then we extruded out until we filled the body space. After this we extruded an arm and a leg.
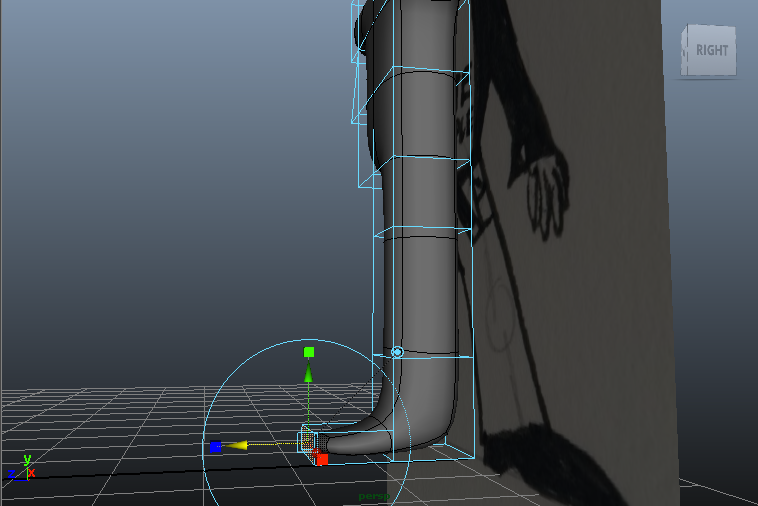
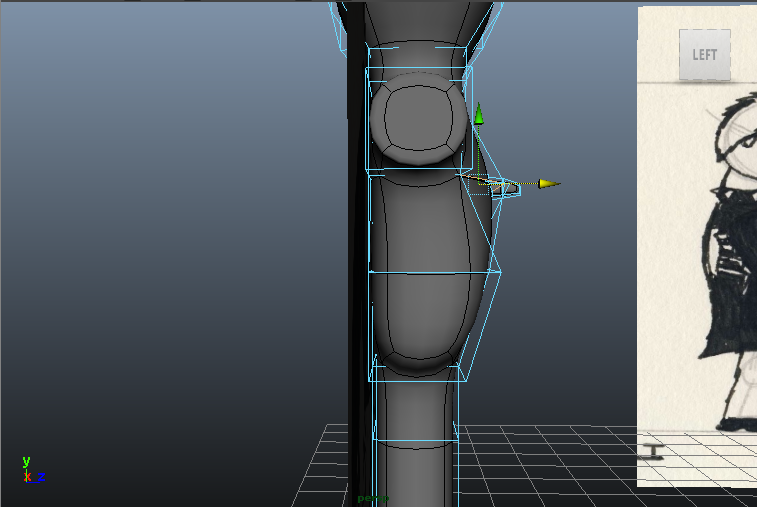
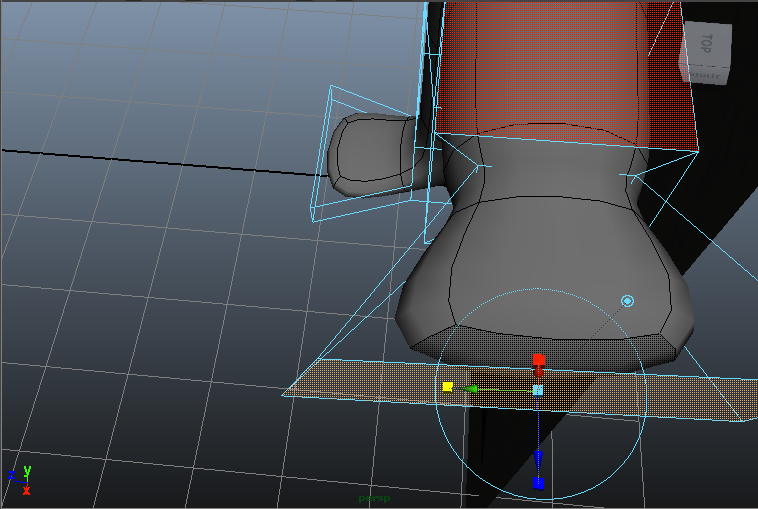
To make the foot, we had to split the polygon to get a smaller polygon. We then extruded the foot but not too widely and we ended up making a really nice looking shoe.
Now the hand, we created a slightly smaller polygon face to make the wrist. We then extruded out from it and widened the face as we went along to give the impression of a wider hand.
So that's it so far, most of the stuff I just wrote, I had James and Perri to help me out with that, but at list it will come in handy for when I need to Maya again in the future and I have all this written information up on here and I can look at it to give me a hand when I need to do it on my own. Take care and I shall get back to all of you when I have done more.

First of all we placed the design of Billy the Goth, into Maya. By doing this, James helped me import a polygon plane and rotated 90 degrees on the X axis and translated back on the Y axis. We then together created a lambert shade in hyper shade which we then assigned to the front image of Billy. We then applied that texture to the polygon plane.
We then duplicated the polygon plane which I rotated on y axis at 90 degrees and translated back on the x axis. For those of you who don't know much about Maya, the y axis is one of the tools you work with in Maya to help animate the character as well as the x axis.

To make the body, Perri and I started with one cube and it was a polygon cube. The next step was to extrude the cube to become two cubes. Then we extruded out until we filled the body space. After this we extruded an arm and a leg.

To make the foot, we had to split the polygon to get a smaller polygon. We then extruded the foot but not too widely and we ended up making a really nice looking shoe.

Now the hand, we created a slightly smaller polygon face to make the wrist. We then extruded out from it and widened the face as we went along to give the impression of a wider hand.
So that's it so far, most of the stuff I just wrote, I had James and Perri to help me out with that, but at list it will come in handy for when I need to Maya again in the future and I have all this written information up on here and I can look at it to give me a hand when I need to do it on my own. Take care and I shall get back to all of you when I have done more.
Subscribe to:
Posts (Atom)