Hey guys, I know it's been a very long while since I've made posts on my Industry Exercise blog, but now finally after a long wait which I apologise for, I can present to you my final model of Billy the Goth. Also I should point out before I proceed that this will be the last thing I do for Ravensbourne College as I am no longer a student there as I failed to get into the third and final year. Well not failed I have passed, but college have been very strict this year saying that I need a C in order to get. And I haven't received one C only D's. But please don't feel sad as this is good thing, as it means I can go on and do something better. But that will be explained in another post, for now I have to do a blog post for the examination board in order to get my Foundation Degree. What I'm going to do is show you how I made the final model for my character Billy the Goth. I forgot to hand in this blog post but I have been given a chance to retrieve it and hopefully as I said before it will give me my Foundation Degree which I have been working towards. So anyway without further ado here is the making of the final model of Billy the Goth. What I will do is have the pictures of how Billy was made with descriptions at the bottom.

First we (when I say we I mean me and the guidance of my good friend and Maya expert Nilly Brook) created a Polygon Cube.
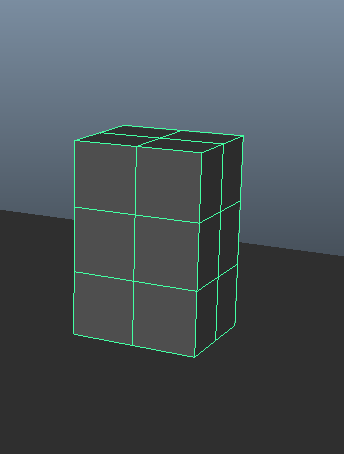
Then added divisions.
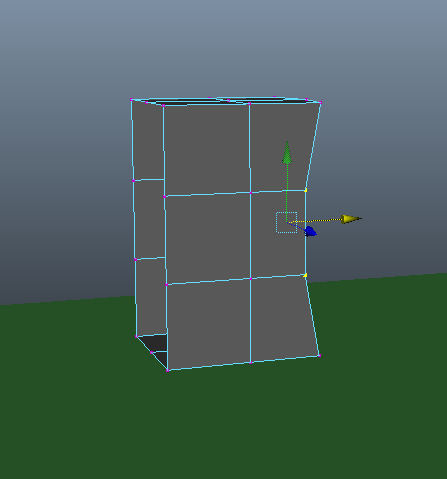
We then deleted the inside faces and moved the vertices into the shape of a torso.
After that we smoothed and to do that you have to press the '3' key.
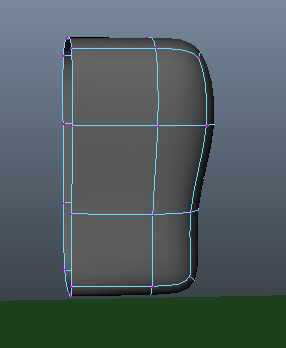
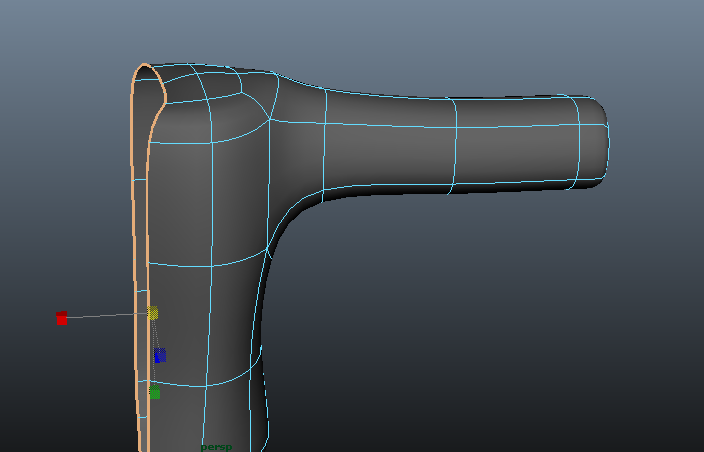
We then selected two of the faces above and extruded them inwards.
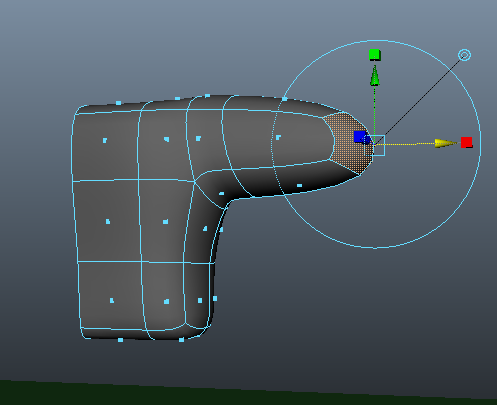
Then extruded one face out towards the elbow.
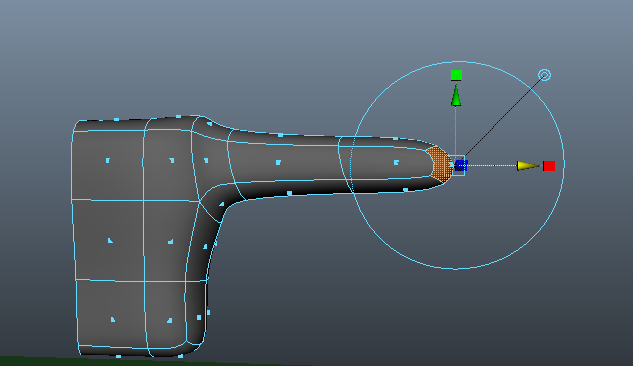
And then extruded out towards the wrist.
And then shaped the points.
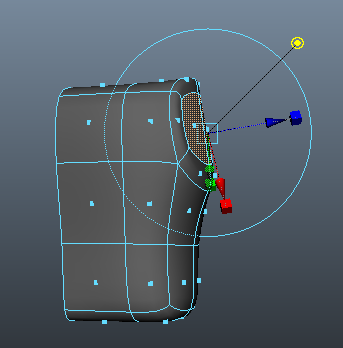
And now to create the legs, we select the bottom faces and again as before we extruded them.
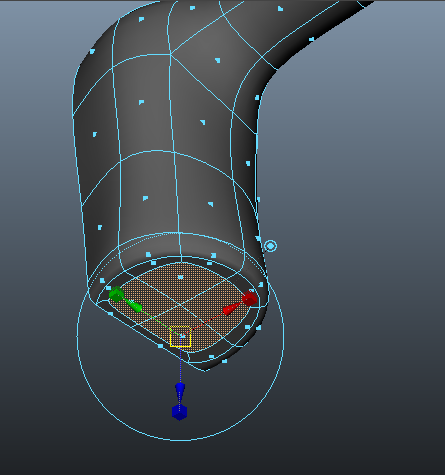
Of course before we did that we had to delete the inside faces.
We extrude them all the way down to the knee.
Once we extrude down the ankle we then rotate it at an angle to where the foot will go to.
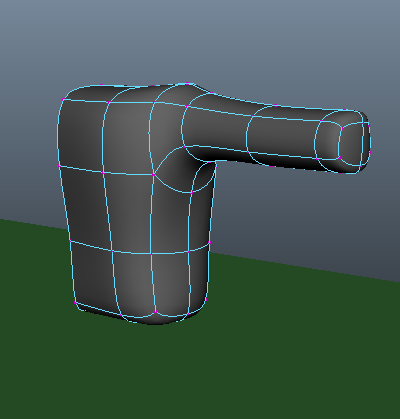
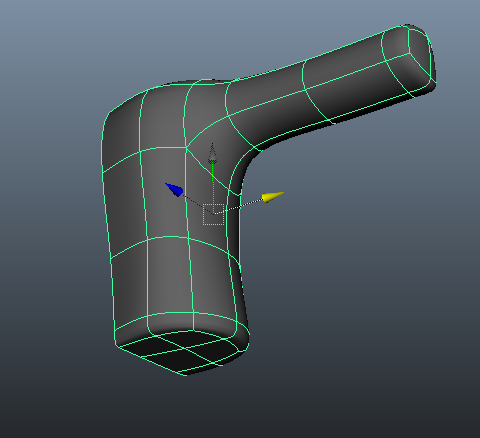
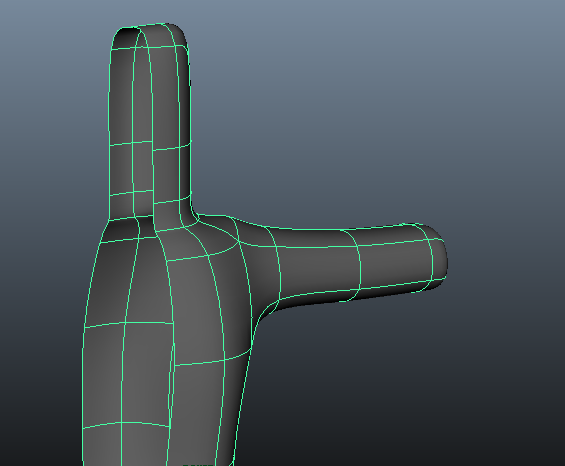
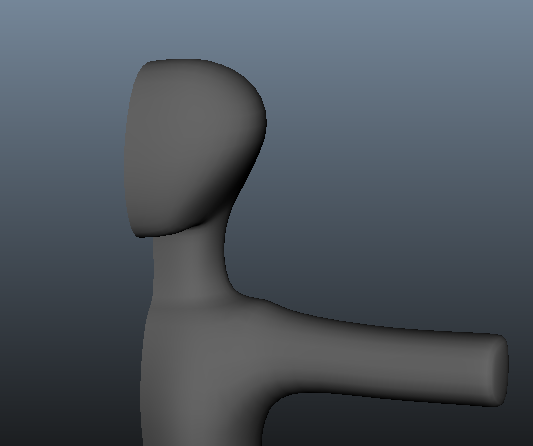
We've now extruded the foot, shaped it and smoothed the object.
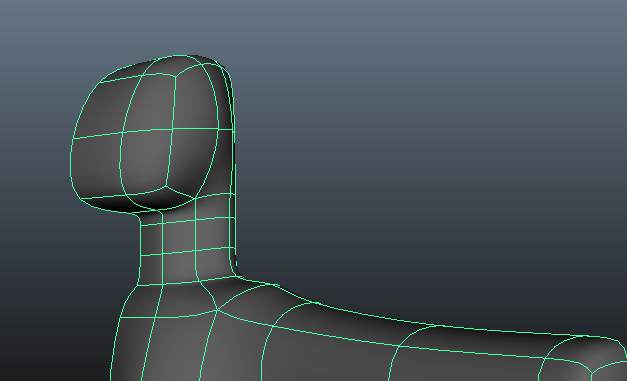
Now to make the neck, we select the top faces and extrude them up to make the neck. But whenever you do this, always make sure that the centre line is straight. To do that you must double click on one of the edges and use the scale tool 'x' direction to make the centreline straight.
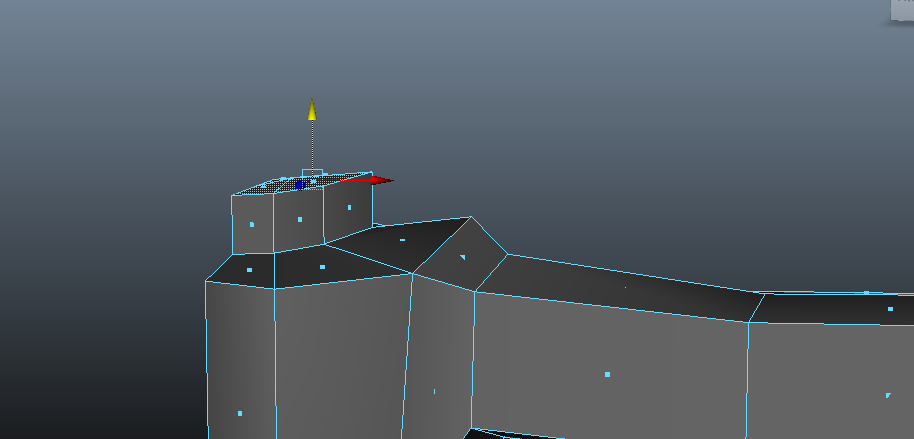
Now we extrude the top of the neck.
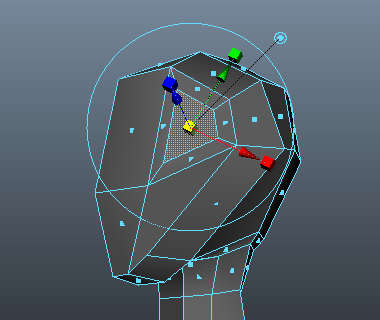
We extrude to where the top of the skull would be. And again delete the inside of the faces.

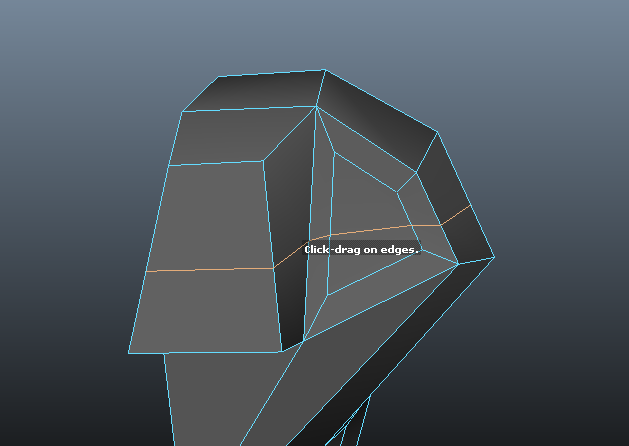
Now to make the face, we select two of the faces and extrude them out.
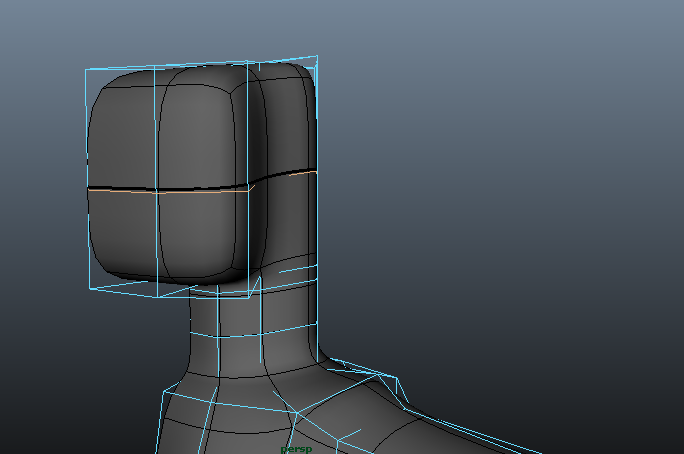
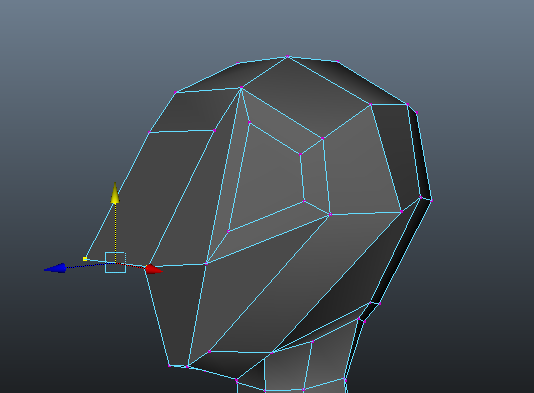
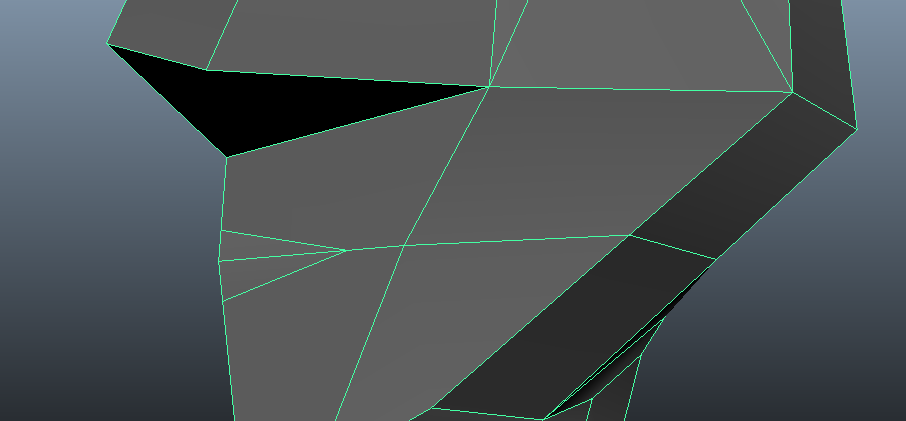
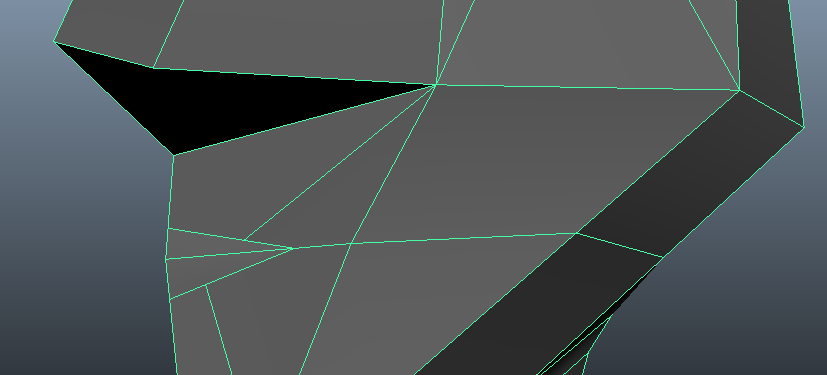
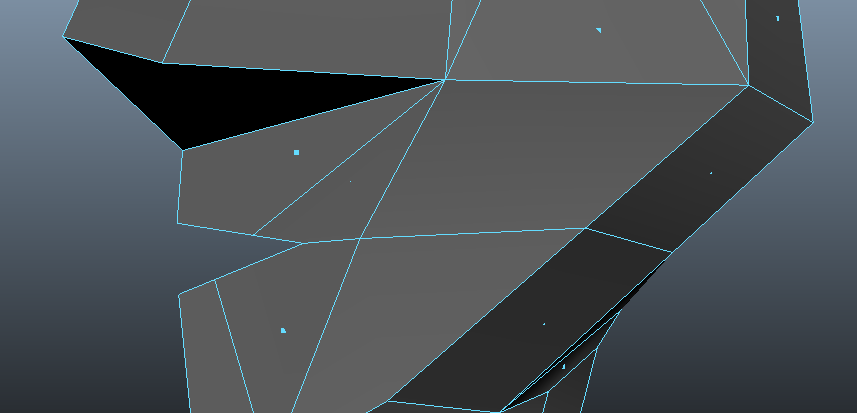
We then shape the points and add extra edge loop tools.
We keep shaping the points with the extra edge loop tools.
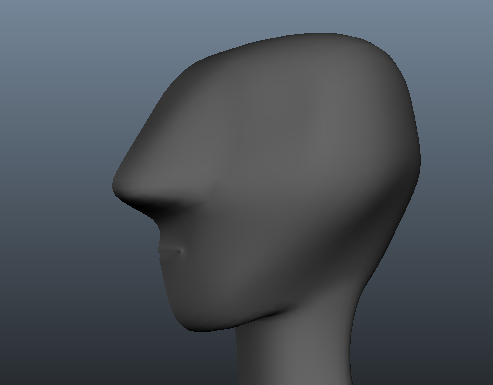
Now we shape the face.
Now to put details on the face, starting with the eyes, we pretty much do same thing when we create all the other body parts, we select a face and shape it up to make an eye.
Now for the nose, again select and extrude the above face.
We now add another edge loop tool for the shape around the eye.
To create the mouth, we use the split polygon tool to draw a rough mouth shape.
Again we use the split polygon tool to create quads.
As you see above we delete the faces.
Now we've moved the points around, added some extra loops but only if necessary and smoothed the object. Yes the nose is still too big but late on that will be improved for the final model.
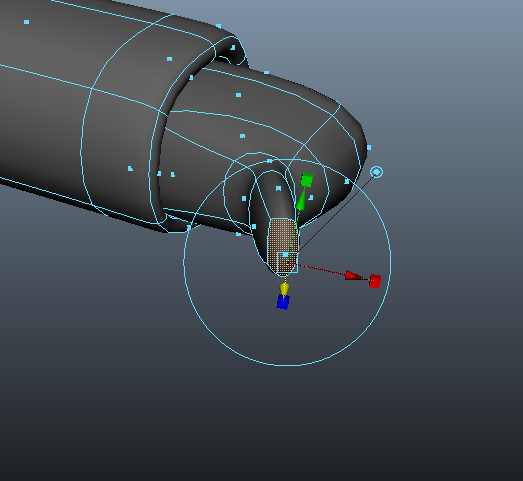
Now to make the hand. We do the usual, we go to the front of the arm, click on the face, extrude it and then we make divisions for the fingers and then we extrude them as well like you can see here with the thumb.
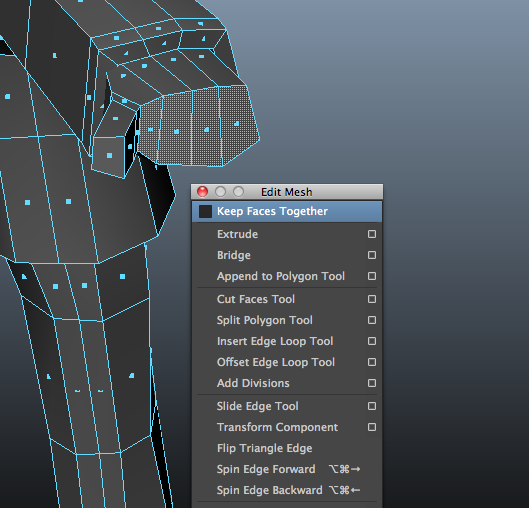
Now when you make the fingers, make sure you have all four faces selected. And then in edit mesh menu as you can see above, make sure 'keep faces together' is un-ticked. After that extrude the fingers out.
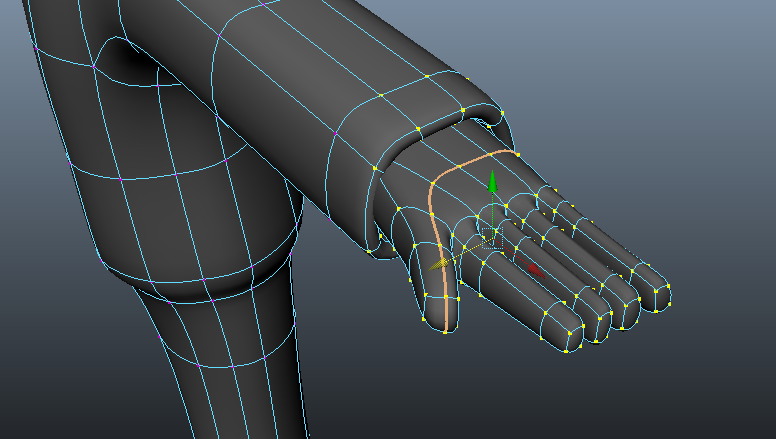
Now play around with the vertices until it resembles a hand.
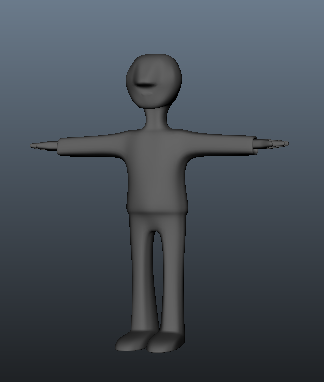
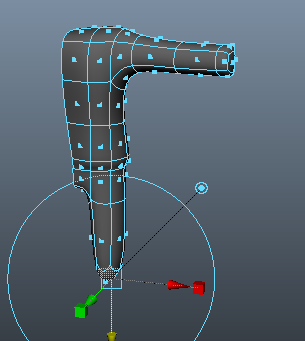
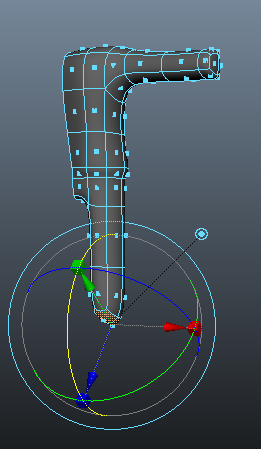
Now when you've made one side of model you wanna make the other side. To do that go to "mirror geometry' and you'll get the other side.
Now it's time to add more details. And for Billy what me and my friend Nilly did, was since I wanted him to look like just a weird sort of alienated kid, I wanted to give one big eye ball sticking out and another one tucked in and have them both be coloured in red.
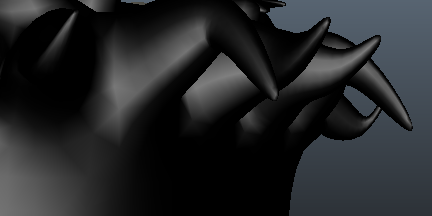
Then we gave him black spiky hair cos he's a goth obviously so he has to have it.
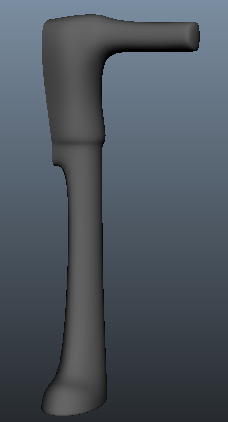
Then we clothed him by giving him black jacket, a red shirt, blue jeans, black shoes after we modelled his feet to make em smaller. We coloured all of clothing by using the texturing tool. We did the same thing with his skin, by giving him pale green looking skin to make him very gothic like and in the end we have something that looks like this;
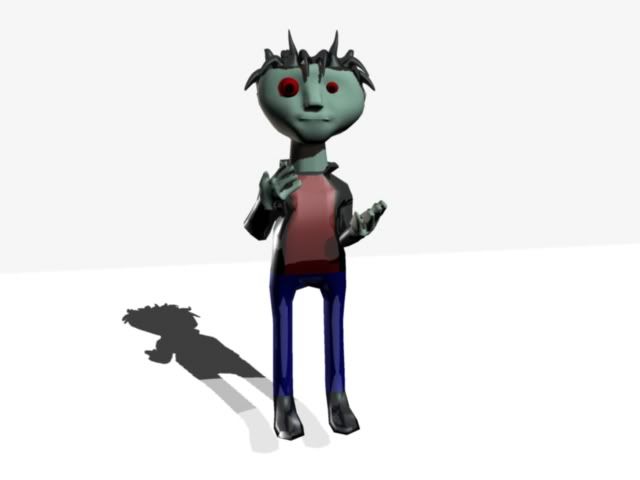
So there he is with shadow and lighting and everything. Very proud of the way he looks and it was great to work on him and I hope the stuff you've read on this blog has been helpful to you if you ever wanna design a character in Maya, it is complicated a little bit but it is a lot of fun. So I've really hoped you enjoyed the making of Billy and if I ever design another character whether on paper or computer, I'll be happy to explain to you. Till next time, peace and love dudes and dudetes.

First we (when I say we I mean me and the guidance of my good friend and Maya expert Nilly Brook) created a Polygon Cube.

Then added divisions.

We then deleted the inside faces and moved the vertices into the shape of a torso.

After that we smoothed and to do that you have to press the '3' key.

We then selected two of the faces above and extruded them inwards.

Then extruded one face out towards the elbow.

And then extruded out towards the wrist.

And then shaped the points.

And now to create the legs, we select the bottom faces and again as before we extruded them.

Of course before we did that we had to delete the inside faces.

We extrude them all the way down to the knee.

Once we extrude down the ankle we then rotate it at an angle to where the foot will go to.

We've now extruded the foot, shaped it and smoothed the object.

Now to make the neck, we select the top faces and extrude them up to make the neck. But whenever you do this, always make sure that the centre line is straight. To do that you must double click on one of the edges and use the scale tool 'x' direction to make the centreline straight.

Now we extrude the top of the neck.

We extrude to where the top of the skull would be. And again delete the inside of the faces.

Now to make the face, we select two of the faces and extrude them out.

We then shape the points and add extra edge loop tools.

We keep shaping the points with the extra edge loop tools.

Now we shape the face.

Now to put details on the face, starting with the eyes, we pretty much do same thing when we create all the other body parts, we select a face and shape it up to make an eye.

Now for the nose, again select and extrude the above face.

We now add another edge loop tool for the shape around the eye.

To create the mouth, we use the split polygon tool to draw a rough mouth shape.

Again we use the split polygon tool to create quads.

As you see above we delete the faces.

Now we've moved the points around, added some extra loops but only if necessary and smoothed the object. Yes the nose is still too big but late on that will be improved for the final model.

Now to make the hand. We do the usual, we go to the front of the arm, click on the face, extrude it and then we make divisions for the fingers and then we extrude them as well like you can see here with the thumb.

Now when you make the fingers, make sure you have all four faces selected. And then in edit mesh menu as you can see above, make sure 'keep faces together' is un-ticked. After that extrude the fingers out.

Now play around with the vertices until it resembles a hand.

Now when you've made one side of model you wanna make the other side. To do that go to "mirror geometry' and you'll get the other side.
Now it's time to add more details. And for Billy what me and my friend Nilly did, was since I wanted him to look like just a weird sort of alienated kid, I wanted to give one big eye ball sticking out and another one tucked in and have them both be coloured in red.

Then we gave him black spiky hair cos he's a goth obviously so he has to have it.

Then we clothed him by giving him black jacket, a red shirt, blue jeans, black shoes after we modelled his feet to make em smaller. We coloured all of clothing by using the texturing tool. We did the same thing with his skin, by giving him pale green looking skin to make him very gothic like and in the end we have something that looks like this;

So there he is with shadow and lighting and everything. Very proud of the way he looks and it was great to work on him and I hope the stuff you've read on this blog has been helpful to you if you ever wanna design a character in Maya, it is complicated a little bit but it is a lot of fun. So I've really hoped you enjoyed the making of Billy and if I ever design another character whether on paper or computer, I'll be happy to explain to you. Till next time, peace and love dudes and dudetes.
No comments:
Post a Comment